How to format a Mac hard drive (step by step and choosing the right format)
Formatting a disk in macOS is not just “erase and that's it”: the key is to choose the file system well (APFS, Mac OS Extended, exFAT), apply the GUID sche…
Formatting a disk in macOS is not just “erase and that's it”: the key is to choose the file system well (APFS, Mac OS Extended, exFAT), apply the GUID scheme and use Disk Utility with “Show All Devices”. In our professional experience, the most common mistakes come from erasing only the volume instead of the physical device and from choosing a format that is incompatible with the actual use.
Pre-checklist (avoid wasting time and data)
Before touching anything, validate these points. In projects with clients we usually document it in a shared note so that anyone can continue the process without surprises.
- Backup (Time Machine, clone or manual copy). Do not continue without it.
- Confirm the use: Mac only? Mac + Windows? for cameras/TV?
- Drive type: SSD (ideal APFS) or HDD (can go with APFS or Mac OS Extended).
- Mac model: Apple Silicon or Intel (the flow changes if it is the internal disk).
- Show All Devices in Disk Utility before erasing.
Which format to choose on Mac (quick guide)
This table summarizes what we recommend in support when we set up disks for Mac equipment with different work scenarios.
| Format | Recommended use | Compatibility | Key notes |
|---|---|---|---|
| APFS (default in macOS) | SSD and disks used exclusively on Mac; current Time Machine | Modern macOS | Snapshots, native encryption, great performance on SSD |
| Mac OS Extended (Journaled) | Old equipment or legacy utilities | macOS (legacy) | Useful on veteran HDDs and for compatibility with old apps |
| exFAT | Share between Mac and Windows | macOS, Windows, many TVs/cameras | No practical file size limit; less robust than APFS |
| MS-DOS (FAT32) | Small USB sticks or old hardware | Very wide | Files max. 4 GB |
| NTFS | Avoid on Mac (read-only by default) | Native Windows | Writing in macOS requires third-party software |
In our daily practice, we usually opt for APFS for work disks that won't leave the Mac ecosystem and for exFAT when there is a mixed Mac ↔ Windows flow.
Partition scheme: GUID or MBR
For current macOS, GUID Partition Map is the correct choice. On our team we only use MBR when an old device (camera/TV) expressly requires it.
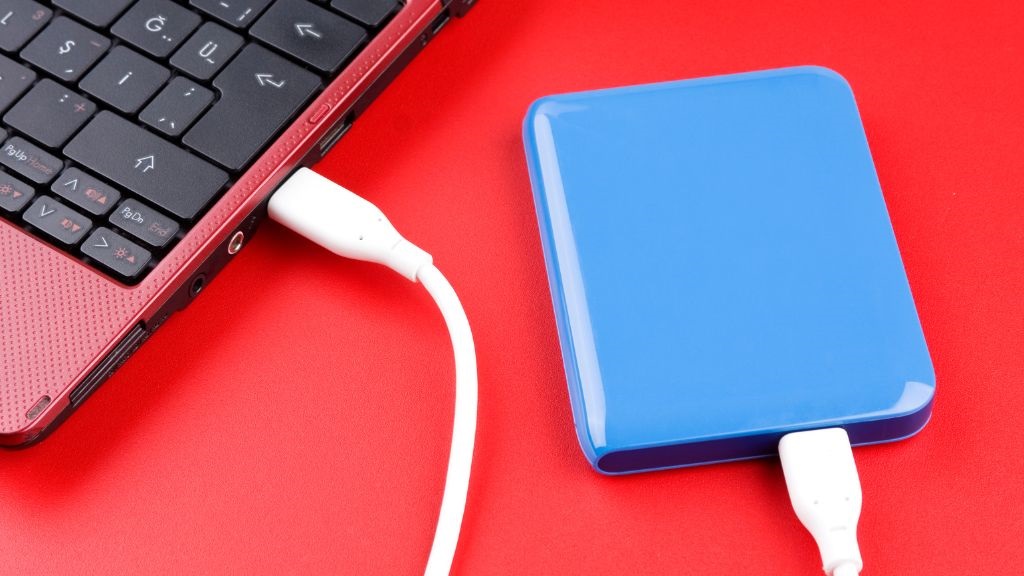
Formatting an external disk with Disk Utility (current macOS)
This is the method we follow with new external HDDs/SSDs or to “reset” problematic drives.
- Connect the disk and open Disk Utility (Spotlight → “Disk Utility”).
- View menu → Show All Devices.
- Select the physical device (the root) in the sidebar.
- Click Erase and define:
- Name: short and recognizable.
- Format: APFS / Mac OS Extended / exFAT according to the table.
- Scheme: GUID.
- Confirm Erase. In seconds/minutes the drive will be ready.
Field tip: when an exFAT “corrupts” due to disconnecting without ejecting, in our experience First Aid usually fixes it; if not, a clean erase to exFAT leaves it perfect.
If the disk does not appear or does not mount
- Try another port/cable and, if it's 3.5”, use a power supply.
- Open System Information → USB/Thunderbolt to see if it detects it.
- In Disk Utility, run First Aid.
- Check the SMART status; if it marks failure, migrate data and replace the drive.
Formatting the internal disk (erasing the Mac completely)
Warning: this deletes everything. Use it to sell the equipment, fix serious faults or start from scratch. On Apple chip equipment we recommend using the Erase Assistant when available: it reduces errors and leaves the Mac ready to set up.
Mac with Apple Silicon
- Turn off the Mac and hold down the power button until you see Options → Continue.
- In Recovery, choose user and password.
- Open Disk Utility, select Macintosh HD → Erase Volume and, if it appears, Erase Volume Group.
- Return to the main screen and click Reinstall macOS.
Mac with Intel
- Turn off. Turn on while holding ⌘ + R to enter Recovery.
- Open Disk Utility, select the physical disk → Erase with APFS and GUID.
- Install macOS from Recovery.
In support we have seen fewer incidents when, before reinstalling, the entire volume group is erased on equipment with T2 or Apple Silicon.
How to format via Terminal (advanced users)
When the interface gives errors or we need to automate, we usually use diskutil:
List disks
diskutil listErase entire disk to APFS (GUID)
diskutil eraseDisk APFS Name apfs /dev/diskXErase to exFAT (GUID)
diskutil eraseDisk ExFAT Name gpt /dev/diskXFormat only one exFAT partition
diskutil eraseVolume ExFAT Data /dev/diskXsY
Replace diskX and diskXsY with the identifiers returned by diskutil list.
Partitioning vs. formatting
Partitioning creates independent “portions” on the same disk. When do we recommend it?
- You need two formats (e.g., APFS for Mac and exFAT for sharing).
- You want to separate environments (system/tests/data) on large disks.
- You use multi-boot or test labs.
If your case is simple storage for a single use, a clean format is usually safer and easier to maintain.
Solving frequent problems
- The disk is “read-only” on Mac: probably NTFS. Copy from Windows or install a driver to write.
- It disappears when copying large files: change cable/port, disable “Put hard disks to sleep” and run First Aid.
- Time Machine does not recognize it: in current versions, Time Machine uses APFS; erase the disk again as APFS.
- Error “The disk could not be unmounted”: close apps, disable Time Machine temporarily and try again.
Quick questions
APFS or exFAT? APFS if the disk will only be used on Mac (better performance and encryption); exFAT if you will share it with Windows or other devices.
GUID or MBR? GUID for current macOS. MBR only for very old compatibility.
Can data be recovered after formatting? Sometimes; the less you use the disk after erasing, the more options you will have with specialized recovery software.
With this flow you will have the disk ready in minutes and, most importantly, with the format suited to your case. In our experience, deciding the format and the scheme before opening Disk Utility avoids more than 80% of subsequent incidents.